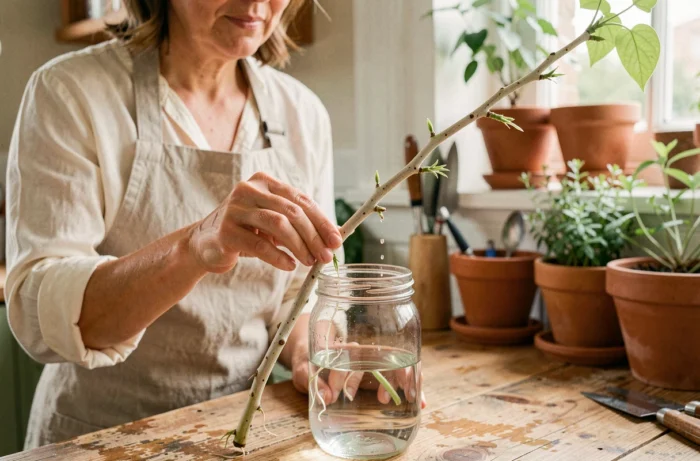
When you take a wisteria cutting after a summer pruning and place it in a glass of water on the windowsill, you expect to see roots appear like with a pothos. The reality is more complex. Wisteria does develop roots in water, but these roots are fragile, poorly branched, and do not transition well to soil. Understanding this limitation from the start allows you to adapt each step to increase the chances of success.
Dissolved oxygen and stagnant water: the real barrier to wisteria cuttings in water
Most guides treat water propagation as an easy variant of substrate propagation. You place the cutting, you wait. The problem lies elsewhere: stagnant water quickly loses its dissolved oxygen, which slows down root formation and can cause the base to rot.
The Virginia Cooperative Extension specifies that the water should be changed weekly to maintain a sufficient oxygen level. Without this renewal, the submerged tissues ferment instead of rooting. This is a simple mechanism but often overlooked.
Specifically, this means that it is not enough to top up the water level when it decreases. You need to completely empty the container, rinse it, and refill it with clean, room temperature water. A transparent container helps to spot any greenish or cloudy deposits, a sign that oxygen levels have dropped. To learn how to propagate wisteria in water with a reasonable success rate, this weekly discipline of changing the water is non-negotiable.
Taking the cutting: semi-hardwood wisteria and clean cut
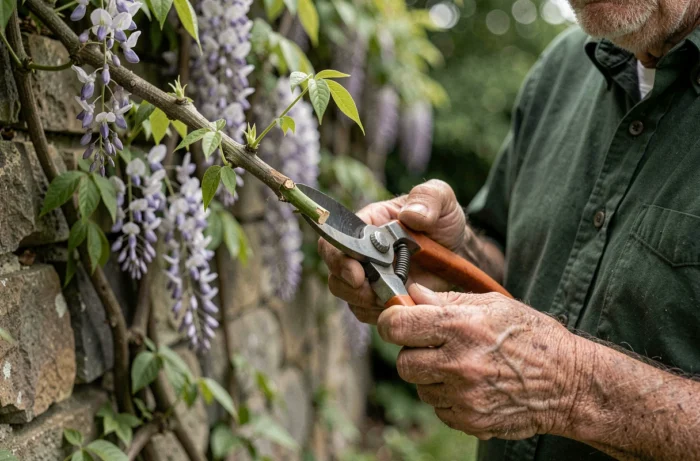
The quality of the cutting determines everything else. You want a semi-hardwood cutting, which means a shoot from the current year that has started to harden at the base while remaining flexible at the tip. This stage corresponds to the end of summer when the plant slows its growth.
Criteria for selecting the cutting
- The cutting should be about ten to fifteen centimeters long, with at least two or three visible nodes, as roots appear at the nodes
- Remove the leaves from the lower third to prevent them from rotting in the water, but keep two or three leaves at the top to maintain photosynthesis
- The cut should be made just below a node with disinfected pruning shears, at an angle, to increase the surface area in contact with the water
A cutting that is too green (herbaceous) decomposes quickly in water. A cutting that is too woody takes much longer to produce roots. The semi-hardwood stage remains the most reliable compromise for aquatic propagation of wisteria.
Wisteria cutting in water: growing conditions and monitoring
The ideal container is a narrow-necked glass jar, which keeps the cutting upright without floating. Fill it with non-calcareous water if possible (rainwater or filtered water) at room temperature. Place the cutting in a bright spot but out of direct sunlight, which would heat the water and accelerate bacterial growth.
Signs to monitor week after week
In the first few days, a slight whitish callus may appear at the base of the cutting. This is normal: it is the scar tissue that precedes rooting. If the base turns black or softens, the cutting is compromised. Remove it immediately to avoid contaminating others if multiple cuttings share the same container.
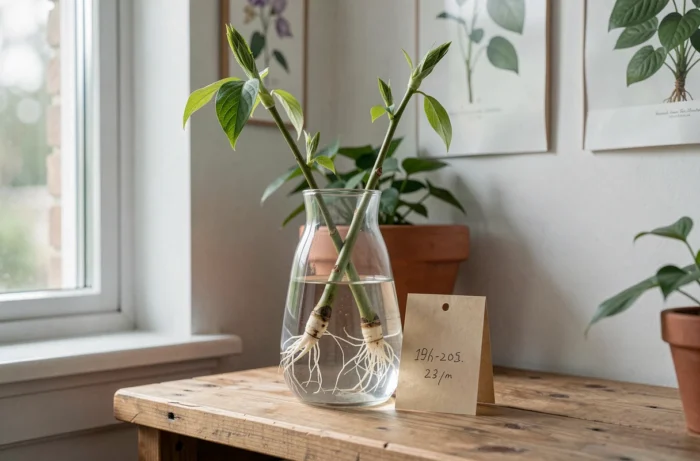
Roots generally appear after a few weeks, in the form of white filaments emerging from the submerged nodes. Feedback varies on this point: some cuttings root quickly, while others stagnate for a long time without visible signs. Patience is part of the process.
Do not let the aquatic roots develop for too long. The Virginia Cooperative Extension recommends transferring the cutting as soon as the roots can withstand a gentle tug. The longer you wait, the more these roots adapt exclusively to the aquatic environment, and the more severe the transplant shock will be.
Transplanting into potting soil: reducing root shock after water propagation
The transition from water to soil is the critical moment. The roots formed in water are spongy and brittle, unlike roots developed directly in an aerated substrate. To limit breakage, prepare a light and draining mix.
- Use horticultural potting soil mixed in equal parts with coarse river sand for drainage that prevents suffocation of the young roots
- Moisten the substrate before inserting the cutting, digging a hole with a pencil to avoid damaging the roots
- Keep the pot in the shade for the first two weeks, watering regularly without over-soaking
- Cover the pot with a transparent plastic bag with a few holes to maintain a humid atmosphere without excessive condensation
Water often but in small amounts during this transition phase. The substrate should feel cool to the touch, never soggy. After a few weeks, you can test for recovery by gently tugging on the cutting: a firm resistance indicates that new soil roots have formed.
Wisteria layering: the alternative when water propagation fails
If despite precautions the cutting does not take, layering offers a more reliable solution for wisteria. The principle is to bury a portion of the stem still attached to the mother plant, slightly damaging the bark below a node to stimulate rooting.
The stem remains supplied with sap throughout the rooting process, which eliminates the risk of drying out. You separate the new plant once its own roots are well established. Layering bypasses the main flaw of aquatic propagation: the fragility of roots formed outside of substrate.
Wisteria from cuttings or layering faithfully reproduces the characteristics of the mother plant, which is not the case with seeds. Seedlings can take several years to flower and may produce flowers different from those of the original plant.
Water propagation remains an accessible method for multiplying wisteria, provided you accept a lower success rate than with traditional substrate. Change the water weekly, transplant at the first signs of solid rooting, and keep layering as a backup plan: these three reflexes cover most common failures.